Quick brief
- Turrets need a valid firing angle, so terrain and facing change how much damage a unit can deal.
- High ground is useful, but a target directly below may be outside a gun's depression arc.
- Long-range units need a front line; artillery and snipers do not defend themselves.
- Orbitals are powerful, but several damage abilities can hurt friendly units too.
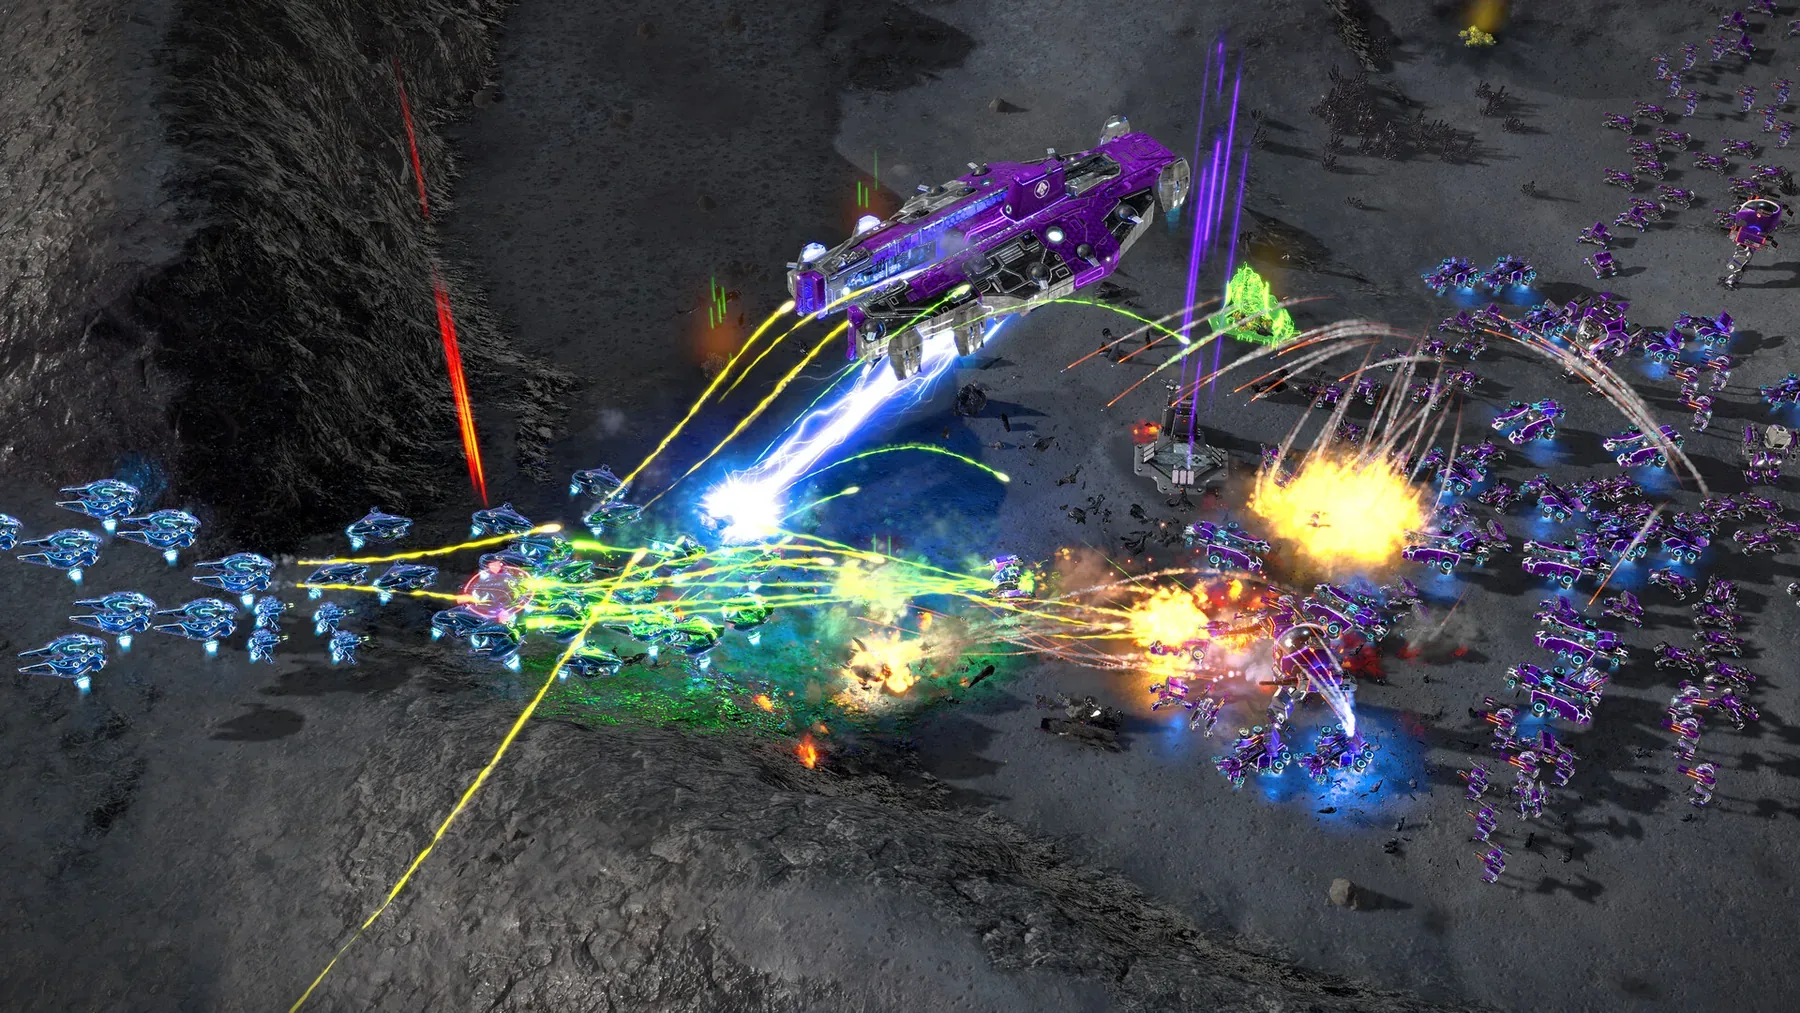
A large battle can look like pure spectacle: hundreds of units, overlapping lasers and a health bar disappearing somewhere in the middle. Under that noise, Ashes II uses a fairly readable set of physical rules. Units have roles. Weapons have arcs. Terrain changes what can see and shoot what.
This guide is about those rules and the decisions they create. It is not a table of launch damage values; many are not public before release.
Weapons live on turrets
Units in Ashes II can carry multiple weapons, each with its own firing behaviour. A tank may have a forward-facing main cannon and a secondary machine gun on a separate turret. Larger platforms can mount several independent weapons.
That matters because a turret is not a free-floating damage number. It must rotate into a firing solution. Its pitch and yaw limits affect whether it can shoot at a target above, below or behind it. The developers have explicitly shown tanks needing to crest a hill to depress their guns against targets far below.
The practical consequences:
- Facing matters before contact. A formation that is pointed the wrong way may spend the first seconds of a fight turning.
- Elevation is not a universal bonus. It helps with line of sight and range, but extreme angles can still block a shot.
- Flanking can reduce incoming fire. If some enemy weapons cannot rotate or depress fast enough, attacking from an unexpected angle buys time.
- Terrain-hugging is a real tactic. A ridge can protect a unit from one axis while exposing it to another; it is not a magic shield.
What each battlefield role is for
Exact balance is still moving, but the broad jobs are clear from the faction reveals and showcases.
| Battlefield job | What it does | What it needs |
|---|---|---|
| Front line | Absorbs contact, fixes enemy units in place and protects the army’s more fragile pieces | Repair, shield support or cheap replacement bodies |
| Fire support | Adds damage from behind the line; includes missile tanks, snipers and drone carriers | A screen, vision and a safe firing angle |
| Artillery / siege | Attacks from long range and punishes clustered or static targets | Spotters, protection and knowledge of the terrain |
| Anti-air | Denies enemy aircraft and protects the main army | Positioning near the units it is meant to cover |
| Recon | Finds threats, watches links and reveals the next decision | Speed, discretion and a plan for what to do with the information |
| Air | Adds a different attack axis and forces a response | Air superiority, anti-air cover or escort |
| Heavy / centerpiece | Changes a fight through durability and concentrated firepower | Support and a retreat route; losses are expensive |
| Swarm | Screens, overwhelms single-target weapons and makes space | Area-damage threats are its natural enemy |
The UEF roster has the clearest combined-arms shape: infantry, main battle tanks, tank destroyers, artillery, anti-air and air. The PHC is the quality faction: fewer, tougher, more expensive units with repair and armour. The Substrate combines regenerating shields, drone swarms and a more mobile, pressure-oriented roster.
The two-second rule: protect the damage
Most losing fights in large-scale RTS games share the same story: the units that deal damage are in front of the units that absorb damage.
Before you commit, look at the army from the side, not just the top:
- Is there a front line between the enemy and your artillery?
- Is your anti-air inside the formation or trailing behind it?
- Are your snipers standing in the open because their range made you feel safe?
- Is your formation facing the likely attack axis?
If the answer is weak, fix the formation before contact. A little repositioning is cheaper than a rebuilt army.
Terrain is a force multiplier
The development journals describe detailed, persistent battlefields: forests, cliffs, frozen lakes, lava chasms and destruction that stays on the map. Different terrain shapes different fights.
Chokepoints
A choke turns numerical advantage into a queue. The army arriving first can hold a narrow pass with fewer units while the larger force struggles to deploy. Artillery and emplaced defences become disproportionately valuable.
Countermeasure: clear the far side with ranged fire, attack a second axis, or force the defender to leave the choke to respond to a raid.
High ground
Elevated positions improve observation and can protect long-range units. Stardock has shown long-range turrets placed on higher terrain to reduce return fire.
Countermeasure: do not attack directly into the elevation. Use another route, force the unit to reposition, or suppress it with indirect fire.
Depressions and reverse slopes
A ridge can block line of sight and weapon arcs. A unit that sits below the crest may be safe from one direction and completely blind in another.
Countermeasure: scout the actual angle, not just the elevation label. Control the approach that sees into the position.
Persistent destruction
Destroyed structures, craters and wreckage remain part of the battlefield. This makes the map a record of the fight rather than a clean resets between engagements. Treat a ruined approach as potentially cover, an obstacle or a sign that the enemy has already been there.
Chokepoints, flanking and artillery
The official gameplay videos repeatedly demonstrate the same triangle:
- Hold a choke with durable units and static defences.
- Punish the choke with artillery or indirect fire.
- Bypass the choke with a flank, air attack or a raid on the connecting region.
If you only have the first, the opponent can bomb you from range. If you only have the third, your main army may be broken while you chase a side objective. A mature army carries answers to all three.
Orbitals: power with a cost
Orbitals are active abilities used from orbit. They can boost the economy, deploy units, scout or inflict catastrophic damage. The Ashes II version adds two important constraints:
- Some large direct-damage orbitals cause friendly fire, so placement matters.
- Scout orbitals and similar abilities can have multiple charges that replenish over time and can be stockpiled.
Two confirmed examples:
- EM Blast stuns enemy tanks and Titans while leaving infantry unaffected.
- Nano Mesh Barrier gives friendly units a temporary shield, helping them survive a bad engagement.
The strategic lesson is that orbitals are timing tools. An EM Blast can strip an armoured push of its momentum; a Nano Mesh Barrier can turn a retreat into a survivable disengage. Using either without a follow-up or an escape plan may simply postpone the loss.
Unit upgrades change the risk curve
The unit upgrade system previewed in 2026 can add health, stronger weapons and modules. Stardock cautions that losing an upgraded unit means losing everything invested in it.
This is a classic escalation problem. Upgrades make a unit stronger, so you want to commit it. Its increased value makes losing it worse, so you want to protect it. The answer is to build the army around the upgraded asset, not to send it alone into a fight because it has a bigger health bar.
A simple counter-thinking checklist
When an enemy army appears, ask:
- What is the main damage source? Armour? Air? Artillery? A single heavy platform?
- What is protecting it? Screen, anti-air, terrain, repair or shields?
- What can I reach? A flank, a shorter range, a different elevation, a cut link?
- What can I afford to lose? A recon screen is not the same as a dreadnought.
- What is the follow-up? Winning the fight is not the same as converting it into a region or a destroyed production line.
If you cannot answer those questions, spend the next 30 seconds scouting instead of attacking.
What we do not know yet
The public material does not provide a complete damage-type matrix, exact armour values for every faction or final weapon ranges. It also does not establish that every turret has identical pitch and yaw limits. Those details are likely to be visible in launch tooltips and may change with balance patches.
Use the physical principles above, then verify the numbers in the build you are playing. A good plan that ignores a patch note is less reliable than a decent plan that reads the current tooltip.
The bottom line
Combat is not just what you bring; it is where the guns can point when the fight starts. Protect your damage, choose your ground, force the enemy into a bad angle and keep an exit route. The army that can shoot first often wins before the numbers matter.
Evidence log
Sources & method
This guide uses official Stardock and Oxide Games material wherever possible. Strategy advice is our own interpretation of those systems, not a claim about a hidden optimal build. Values and balance can change between the pre-release build and launch. Last verified November 1, 2026.
Continue the briefing